Of the many features Microsoft Azure has released over the last year or so, i must say, Managed Identity is the one which has made my life easier in the cloud. Azure Managed Identity allows two Azure services to communicate securely using Azure AD, with you-the developer having to write only very little authentication code (in some cases no code). This is especially useful when your web app wants to access Azure Key Vault, or your Azure Function wants to invoke an endpoint in Azure Web App etc. Azure does the plumbing work for creating the registrations, obtaining the token, and passing it along with the request. Azure is making more of its services compatible with Managed Identity. In this post we are going to look at how to use Managed Identity to secure the communication between Azure API manager and the backend Azure Web App, hosting the endpoints.
Create Azure web app
I have deployed the sample weather API to an Azure Web app. While creating the ASP.NET core web api project in Visual Studio, i selected the option to enable authentication with Azure AD. Visual studio will create the app registrations and configure the Web App to validate the token. This step will work only if you have permissions to create App registrations in your active directory. I have also added and configured the swashbuckle Nuget package to the Visual Studio project. This makes it easier to import the API into the Azure API manager.

Create API in Azure API Manager
For the managed identity to work, you must make sure that managed identity is enabled for both the participating services. In our case managed identity should be turned on for API Manager and Azure Web App. When you turn on managed identity (for some services it is still called managed service identity) Azure creates the registrations for your applications in the Azure Active directory. However, you won’t be able to see this registrations under App registrations in Azure Active Directory. Instead they are available under Enterprise Applications area in your Azure Active Directory.
The easiest way to create your API inside Azure API manager is by importing your swagger file. Once you have imported the API, select your operation and you can configure managed identity to secure the communication between Azure API Manager and Azure Web app
Configure Managed Identity Policy
You specify one of your operations in Azure API Manager to use managed identity by configuring the managed identity policy. The managed identity policy i have configured is shown below. You must specify the value of the resource to the Application Id of your app registration or the URL of your Azure web app.
    <inbound>
        <authentication-managed-identity resource="https://arunkumarmoq.onmicrosoft.com/aadauth" ignore-error="false" output-token-variable-name="" />
        <base />
    </inbound>
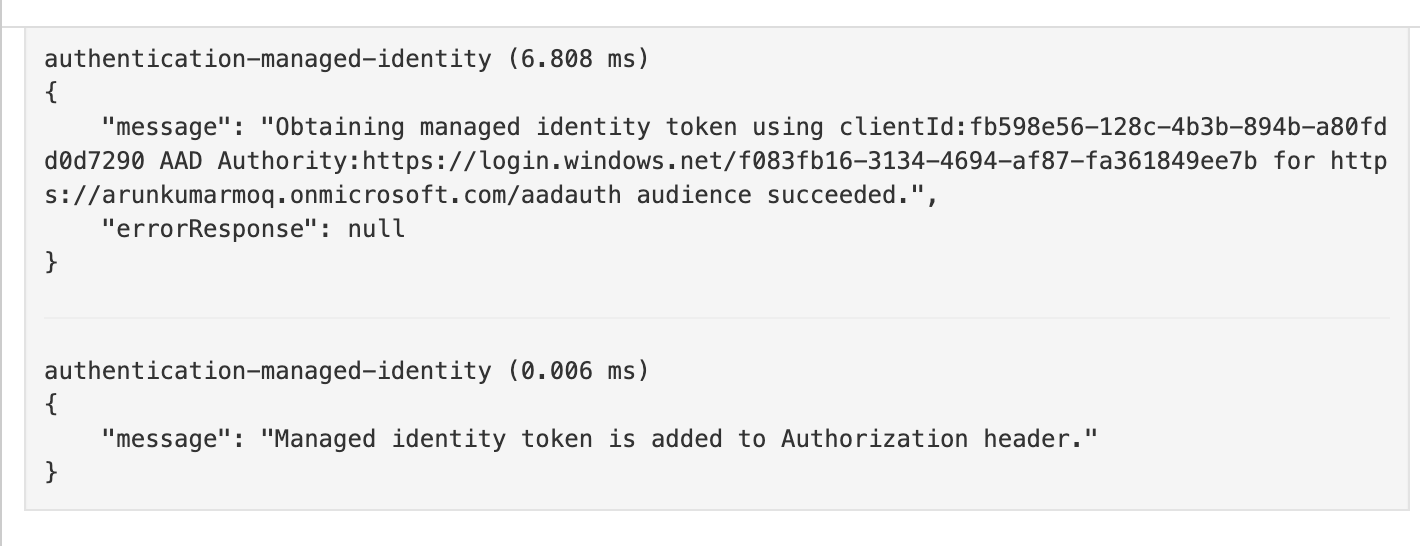
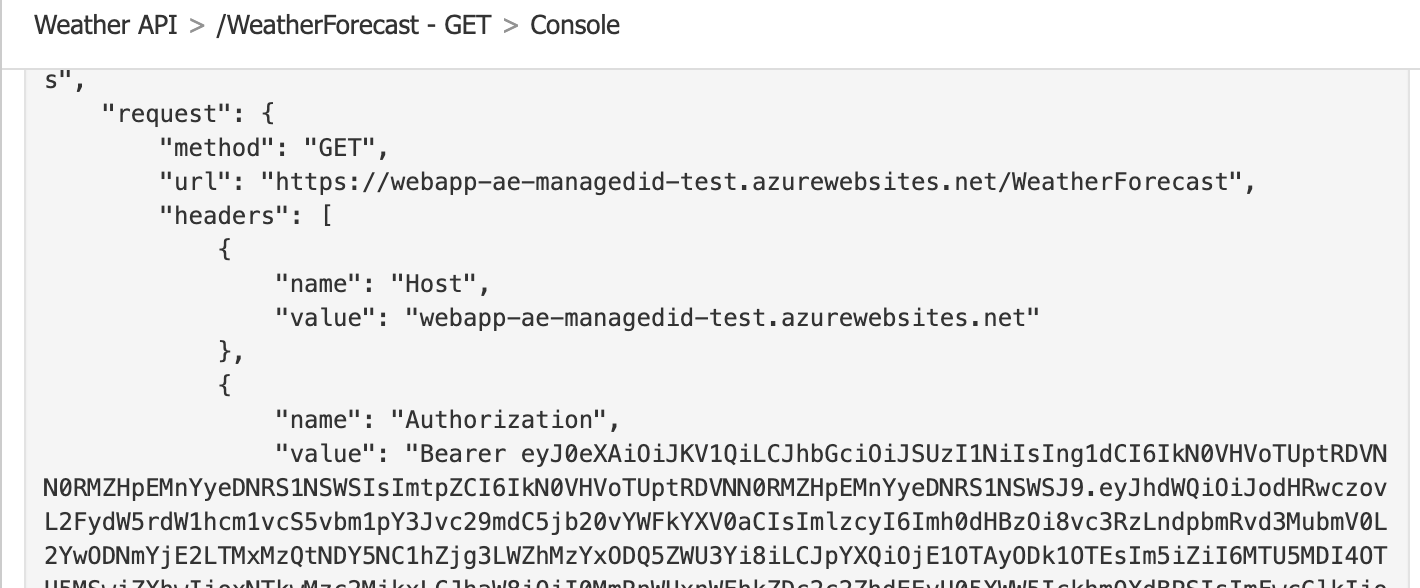
If you test your application from the Azure API Manager portal and look at the trace, you can see Azure API Manager trying to get a token and passing it with the header as a bearer token


Gotchas
In this example we used Azure Web Apps as a backend for the Azure API manager. If your backend is an Azure Function, it will work the same way as the Azure Web App. However, the managed identity does not work for Azure Service Bus. Azure Service Bus has an HTTP endpoint and you can expose an endpoint using Azure API manager. This is a great enabler for clients which are not capable of implementing a queue client. Azure Service Bus does not support managed idenity. As you have seen, managed identity sends the token as a Bearer token in the Authorization header. Service bus HTTP endpoint expects a WRAP access token. Hence the service bus won’t recognise the token Azure API manager is sending.